Introduction:
Setting up a new printer can feel confusing, especially if you’re not familiar with technical devices. From installing cartridges to connecting Wi-Fi, even small mistakes can cause issues later. This simple step-by-step guide will help you set up your printer correctly and start printing without any hassle.
Step 1: Unbox and Prepare the Printer
Carefully remove the printer from the box and take off all protective tapes and packaging materials. Place the printer on a flat, stable surface near a power outlet.
Step 2: Install Ink or Toner
Open the printer cover and insert the ink cartridges or toner into their designated slots. Make sure they are properly aligned and securely placed.
Step 3: Load Paper Correctly
Adjust the paper guides and insert paper into the tray. Ensure the paper is aligned properly to avoid paper jams during printing.
Step 4: Power On the Printer
Plug in the power cable and turn on the printer. Wait for it to initialize and become ready for setup.
Step 5: Connect Your Printer
Option 1: USB Connection
Connect the printer directly to your computer using a USB cable.
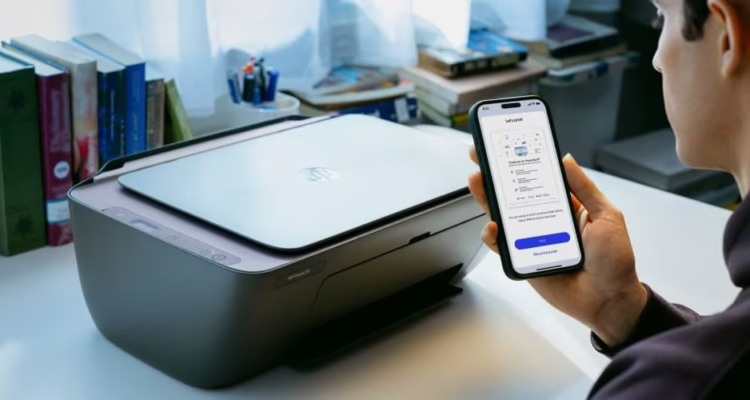
Option 2: Wi-Fi Connection
- Go to printer settings
- Select Wi-Fi setup
- Connect to your network
- Enter the password
Step 6: Install Printer Drivers
Download and install the latest drivers from the manufacturer’s website. This ensures compatibility and better performance.
Step 7: Print a Test Page
Once setup is complete, print a test page to check if everything is working correctly.
Common Mistakes to Avoid:
- Skipping driver installation
- Using incorrect paper size
- Not aligning cartridges properly
- Weak Wi-Fi connection
Conclusion:
Setting up your printer doesn’t have to be difficult. By following these simple steps, you can avoid common issues and ensure smooth printing from the start.